
From Novice to Pro: Getting Started with Canva for Beginners
The digital landscape, ever-evolving, demands accessible and powerful design tools. For many, Canva has emerged as the unequivocal champion, democratizing design and empowering individuals, businesses, and educators to craft visually stunning content without the steep learning curve of traditional software. This comprehensive guide will take you on a journey from an absolute beginner to a confident Canva user, equipping you with the knowledge and skills to transform your design aspirations into reality.
At its core, Canva is an online graphic design platform, a user-friendly haven for anyone looking to create anything from social media posts and presentations to infographics and professional documents. Its drag-and-drop interface eliminates the need for complex coding or intricate design principles, making it approachable for even the most tech-averse individuals. Think of it as a digital canvas where your imagination is the only limit, and Canva provides all the brushes, paints, and palettes you’ll ever need.
Contents
- 1 What is Canva, and Why is it Popular?
- 2 Key Features and Benefits
- 3 The Homepage and Dashboard Overview
- 4 Exploring the Design Editor
- 5 Choosing a Template or Starting from Scratch
- 6 Adding and Customizing Elements
- 7 Saving and Downloading Your Design
- 8 Working with Text and Fonts
- 9 Image Editing and Enhancements
- 10 Adding and Customizing Graphics and Icons
- 11 Understanding Color Palettes and Typography
- 12 Layout and Composition Principles
- 13 Using Grids and Guides for Precision
- 14 Leveraging the Template Library
- 15 Canva Pro Benefits and Advanced Features
- 16 Accessing Canva’s Learning Resources and Community
- 17 Designing for Different Platforms and Purposes
- 18 Collaboration and Team Features
- 19 Staying Updated with New Features and Trends
What is Canva, and Why is it Popular?
Canva’s popularity stems from its intuitive design and vast library of readily available assets. It allows users to create high-quality visuals quickly and efficiently, a crucial advantage in today’s fast-paced digital world. Whether you’re a small business owner needing marketing materials, a student crafting a presentation, or simply someone who wants to make their social media feed pop, Canva offers a solution. Its freemium model, offering a robust free tier alongside a powerful paid subscription (Canva Pro), further broadens its appeal, making professional-grade design accessible to everyone. The platform removes the intimidating barrier to entry often associated with graphic design, offering a gentle ramp into a world that once required specialized training and expensive software.
Key Features and Benefits
Canva boasts an impressive array of features designed to streamline the creative process. Its extensive template library is a cornerstone, providing pre-designed layouts for virtually every purpose imaginable. The drag-and-drop editor simplifies element placement and manipulation, while a vast stock library of photos, illustrations, icons, and fonts ensures you’ll always find the perfect visual to convey your message. Furthermore, Canva’s cloud-based nature means your designs are always accessible from any device with an internet connection, fostering collaboration and flexibility. The benefits extend beyond ease of use; Canva promotes visual literacy, allowing users to express themselves more effectively and professionally in various contexts. It empowers individuals to take control of their brand identity and communicate their ideas with clarity and impact.
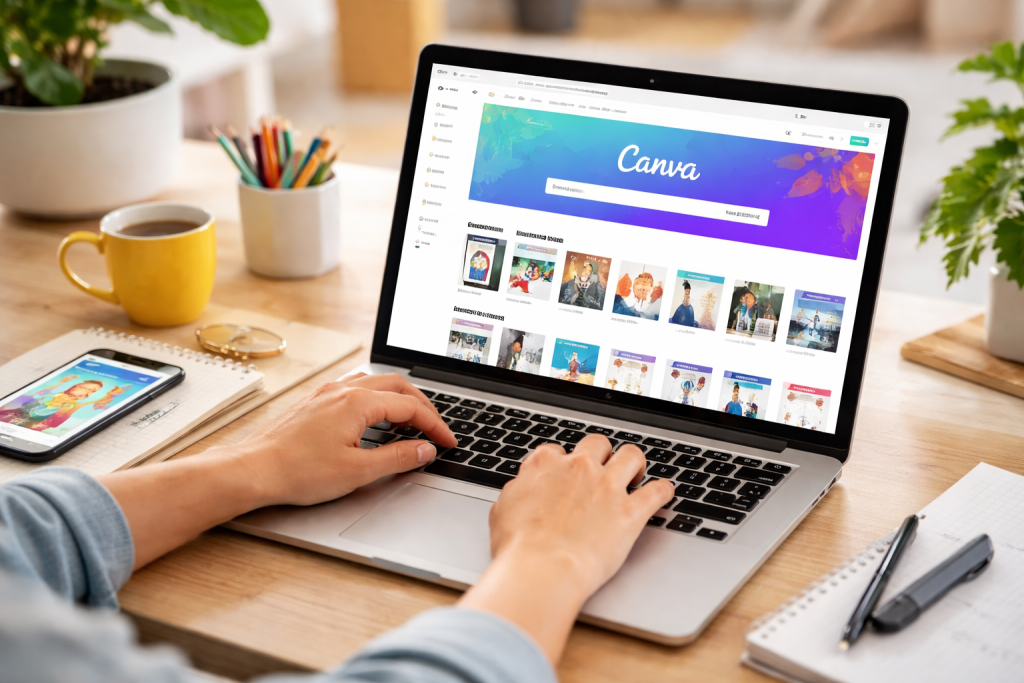
Once you log into Canva, you’ll be greeted by a clean and organized interface designed for ease of use. Understanding its layout is the first step towards becoming a proficient designer.
The Homepage and Dashboard Overview
The Canva homepage serves as your central hub. Here, you’ll find a search bar to quickly locate templates, a “create a design” button to start from scratch, and neatly categorized sections for different design types (e.g., social media, personal, marketing). Your recent designs are also prominently displayed, allowing for quick access to ongoing projects. The left-hand sidebar offers navigation to “All your designs,” “Shared with you,” “Brand Kit” (for Pro users), and “Content Planner,” providing a comprehensive overview of your design ecosystem. This dashboard is thoughtfully organized to minimize clutter and maximize efficiency, ensuring you can quickly find what you need without getting lost in a labyrinth of options.
Exploring the Design Editor
The heart of Canva lies within its design editor. Once you choose a template or start a blank canvas, you’ll enter this dedicated workspace. The main area is your canvas, where your design takes shape. The left sidebar transforms into a powerful toolbox, offering access to various design elements. This sidebar dynamically changes based on what you’re doing, presenting relevant tools at your fingertips. On the top bar, you’ll find options for undo/redo, resizing, duplicating pages, and sharing your finished design. The editor’s intuitive layout, with clearly labeled icons and readily accessible controls, minimizes the learning curve and allows you to focus on the creative process rather than struggling with complex software.
Now that you’re familiar with the interface, it’s time to get your hands dirty and create your very first design. This hands-on experience is crucial for solidifying your understanding.
Choosing a Template or Starting from Scratch
Canva offers two primary paths to begin a design: selecting a pre-made template or starting with a blank canvas. For beginners, templates are an invaluable resource, providing a solid foundation and guiding your design choices. Browse through the extensive template library, categorized by design type, and select one that aligns with your project’s goals. If you’re feeling adventurous or have a very specific vision, opting for a blank canvas gives you complete creative freedom. The beauty of Canva is that you can always switch between these approaches, beginning with a template and then heavily customizing it, or even using a blank canvas and incorporating elements from templates.
Adding and Customizing Elements
Once you have your canvas, the fun begins. The left sidebar provides all the elements you’ll need:
- Templates: Change the entire design layout.
- Elements: A treasure trove of shapes, lines, graphics, photos, videos, and audio. Simply drag and drop them onto your canvas.
- Text: Add headings, subheadings, and body text. Canva offers a vast selection of fonts and text styles.
- Uploads: Bring in your own images, videos, or audio files.
- Draw: For those who prefer a more freehand approach.
- Projects: Access your past designs and elements.
- Apps: Integrate with other platforms like Google Drive or Dropbox.
To customize an element, simply click on it. A contextual toolbar will appear at the top, allowing you to change colors, fonts, sizes, and positions and apply various effects. This intuitive selection-based customization ensures that the tools relevant to the selected element are always at your disposal, reducing clutter and improving efficiency.
Saving and Downloading Your Design
Once your masterpiece is complete, saving and downloading are straightforward. Canva automatically saves your work as you go, so you never have to worry about losing progress. To manually save or download, click the “Share” button in the top right corner. You’ll have options to download in various formats, including PNG (for high-quality images), JPG (for smaller file sizes), PDF Standard (for documents), and PDF Print (for professional printing). Canva also offers options to share your design directly to social media, email, or as a view-only link. This seamless saving and downloading process ensures that your creations are readily available in the format you need, for whatever purpose you have in mind.
Canva’s power lies not just in its simplicity but also in its sophisticated suite of design tools and features that elevate your creations.
Working with Text and Fonts
Text is a crucial component of most designs, and Canva provides extensive control over it. Beyond choosing from hundreds of fonts, you can adjust font size, color, alignment, line spacing, and letter spacing. You can also apply effects like shadows, outlines, and curves. Text boxes can be resized and repositioned, and text can be grouped with other elements for easier manipulation. Canva’s “Text styles” feature allows you to quickly apply predefined heading, subheading, and body text styles, ensuring consistency across your design. This granular control over typography allows you to communicate your message with clarity and flair, making every word count.
Image Editing and Enhancements
Canva isn’t just for arranging elements; it also offers robust image editing capabilities. When you select an image, a toolbar appears with options to “Edit Photo.” Here, you can adjust brightness, contrast, saturation, and crop images. Canva Pro users gain access to powerful tools like the “Background Remover” and a suite of “Magic” tools that allow for more advanced photo manipulation, such as “Magic Eraser” and “Magic Edit.” These features allow you to transform ordinary photos into professional-grade visuals directly within the Canva interface, eliminating the need for external photo editing software.
Adding and Customizing Graphics and Icons
The “Elements” tab is a treasure trove of graphics and icons. Search for specific items, and Canva will present a myriad of options, from simple shapes to complex illustrations. Many graphics are customizable, allowing you to change their colors to match your brand palette. You can also adjust their transparency, flip them horizontally or vertically, and even animate them (for video designs). Canva’s extensive collection ensures that you can find the perfect visual to complement your text and convey complex ideas in a digestible format. These graphical assets are crucial for adding visual interest and breaking up large blocks of text, making your designs more engaging and easier to understand.
While Canva makes design accessible, a few professional tips can elevate your creations from good to great.
Understanding Color Palettes and Typography
A cohesive color palette and well-chosen typography are hallmarks of professional design. Don’t simply pick random colors; use a color wheel to understand complementary and analogous colors. Canva offers a “Brand Kit” (a Pro feature) where you can store your brand colors and fonts, ensuring consistency across all your designs. When selecting fonts, aim for readability and ensure that the fonts you choose complement each other without clashing. Typically, using no more than two or three different fonts in a single design is a good practice, with one for headings, one for subheadings, and one for body text. A consistent visual language, built upon thoughtful color and font choices, conveys professionalism and reinforces your brand identity.
Layout and Composition Principles
Even with a drag-and-drop interface, understanding basic layout and composition principles is vital. The rule of thirds, for instance, suggests placing key elements along imaginary lines that divide your canvas into nine equal parts, creating more visually engaging compositions. Ensure there’s adequate “white space” around your elements to prevent cognitive overload. Group related elements together and use alignment tools to create a clean and organized appearance. A well-composed design guides the viewer’s eye and makes information easy to digest, creating a pleasant and effective visual experience. Don’t be afraid to experiment with different arrangements; sometimes the unexpected placement of an element can create a stunning result.
Using Grids and Guides for Precision
For meticulous designers, Canva provides grids and guides to ensure precise alignment and spacing. You can activate rulers and guides from the “File” menu (or “View settings” in the top bar). These visual aids allow you to perfectly align elements, create consistent margins, and maintain a professional look. While the drag-and-drop functionality is forgiving, using grids and guides ensures an extra layer of precision, which is particularly important for designs that will be printed or viewed on professional platforms. This attention to detail can significantly elevate the perceived quality of your work, showing a refined touch that sets your designs apart.
Canva’s strength lies not only in its tools but also in its unparalleled array of templates and educational resources.
Leveraging the Template Library
The template library is your best friend when starting. Don’t feel obligated to recreate the wheel. Browse categories like “Instagram Post,” “Presentation,” “Brochure,” or “Resume” to find a suitable starting point. Remember that templates are fully customizable; change colors, fonts, images, and text to match your specific needs and brand. Filtering options allow you to narrow down your choices by style, color, or theme, making the process even more efficient. Leveraging templates saves time and provides a professionally designed foundation, allowing you to focus on content and finer customizations and giving you a head start in creating polished visuals.
Canva Pro Benefits and Advanced Features
While the free version of Canva is incredibly powerful, Canva Pro unlocks a suite of advanced features that elevate your design capabilities. These include the “Brand Kit” for consistent branding, “Background Remover” for effortless image editing, an expanded library of premium stock photos and elements, “Content Planner” for scheduling social media posts, and “Magic Switch” for instant resizing of designs to different formats. For individuals and businesses who frequently create visual content, the investment in Canva Pro often pays for itself by significantly boosting productivity and providing access to high-quality, professional-grade tools.
Accessing Canva’s Learning Resources and Community
Canva isn’t just software; it’s a vibrant ecosystem. The Canva Design School offers a wealth of tutorials, courses, and articles covering various design topics, from beginner basics to advanced techniques. There are also numerous online communities and Facebook groups where users share tips, tricks, and feedback. Engaging with these resources can accelerate your learning curve, inspire new ideas, and provide a supportive environment for your design journey. Continuous learning and community engagement are key to mastering any skill, and design is no exception; Canva provides ample opportunities for both.
Moving beyond the basics involves pushing creative boundaries and strategically applying Canva’s full potential.
Designing for Different Platforms and Purposes
As you gain confidence, start tailoring your designs for specific platforms and purposes. A social media post requires different dimensions and visual cues than a print flyer or a website banner. Canva provides appropriate templates for each, but understanding the nuances of how content is consumed on various platforms will make your designs more effective. Consider your audience, the context of the design, and the call to action, if any. This strategic approach ensures your visuals are not just aesthetically pleasing but also functionally successful in achieving their intended goal.
Collaboration and Team Features
For teams, Canva offers robust collaboration features. You can share designs with others, allowing them to view, edit, or comment. This facilitates seamless teamwork, especially for projects requiring multiple inputs. Canva Pro users can also create “Teams” to manage shared Brand Kits and streamline workflows. This collaborative environment is invaluable for businesses and organizations, enabling multiple stakeholders to contribute to and refine designs efficiently, ensuring a unified brand message and consistent visual output. Efficient collaboration minimizes revisions and accelerates project completion, a valuable asset in any professional setting.
Staying Updated with New Features and Trends
Canva is constantly evolving, introducing new features, templates, and design trends. Regularly checking the Canva blog, their social media channels, and exploring the “What’s New” section within the platform will keep you abreast of the latest updates. Experiment with new tools and incorporate emerging design trends into your work to keep your creations fresh and relevant. The digital design world is dynamic, and staying current with the latest developments ensures your skills remain sharp and your designs continue to capture attention. Embracing change and being open to new possibilities are essential traits for any successful designer.
By following this comprehensive guide, you are well on your way to transforming from a Canva novice into a design pro, ready to tackle any visual communication challenge with confidence and creativity. The journey of design is continuous, but with Canva as your trusted companion, you have all the tools and resources to make a significant impact.

Our mission is to assist students, beginners, and professionals in learning more effectively, developing practical skills, and enhancing their confidence in today’s digital world.